


High-quality, consistent milk replacer is not just a nice-to-have option it is a must-have priority! Some variables such as expression of genetics won’t be seen until further into the future but feeding high-quality milk replacer each and every day is the first step in guaranteeing a healthy start for each and every calf.
Consistency is the challenge. Every step in the process can be undone if consistency is not achieved. Consistency of mixing the powdered product. Consistency of the volume of water. Consistent temperature. Variation in any of these, can have a detrimental effect on the calf’s digestives system and, therefore, on its health and vigor.
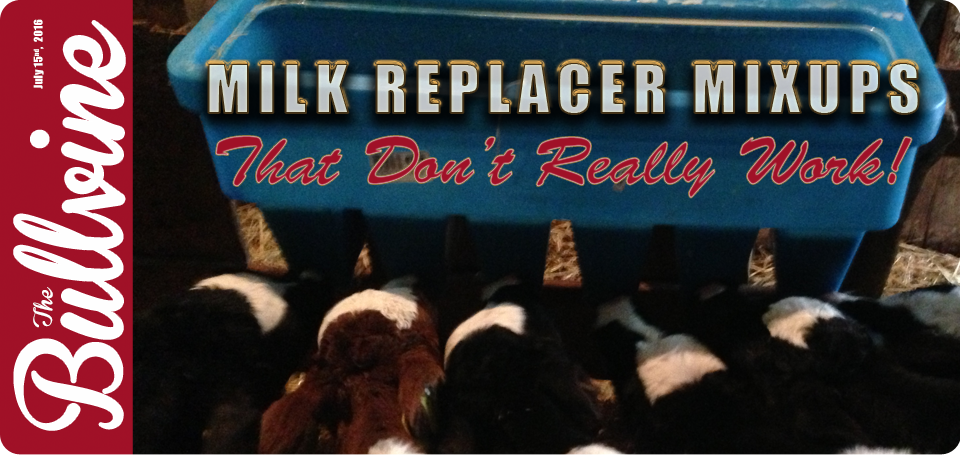
How Hard Can It Be To Follow The Manufacturer’s Instructions?
Because of the simple needs of the newborn calf, we tend to think that meeting those needs with bottled milk replacer is simple too. Not so. Each manufacturer produces a variety of formulations, and each formulation has specific instructions for mixing temperature, amount of powder and volume of water. It is up to the calf-caregiver to follow the unique mixing requirements that are necessary to achieve the best quality reconstituted product. Close is not good enough. Creative variations are not okay. Each step of the milk replacer preparation and delivery must be 100% accurate.
Let’s Start With Mixing Temperature
Milk replacer cannot be hot one time and cold the next. In order to produce the desired healthy results, the replacer must be prepared at the correct temperature. Recommendations can vary from as low as 110° and as high as 150°. Too cold and the mix may be incomplete or have an uneven dispersion of particles. Too hot and there will be uneven mixing of the fat. Also, at high temperatures, denaturing of whey protein could affect the digestibility of the product.
How Much Water? How Much Powder? Get it RIGHT.
We need to remember that milk replacer is not a treat that improves in flavor or increases in value if it is mixed to a thicker or thinner consistency. There is that word consistency again. Here it refers to setting up and feeding perfectly mixed nutrients at every feeding. Beyond whether you and your calf feeding team get it right, there may be errors in the instructions themselves.
Here is an example “For example, let’s say your feeding program is set up for the dry matter in milk replacer at 12.5 percent. That delivers about one-half a pound of powder in two quarts of milk replacer. [125 g/liter delivers 500 grams in two liters]. Some instructions correctly tell you to mix the powder with some water and after blending add enough more water to arrive at the desired volume. This works well – you end up with about 12.5 percent solids. The incorrect directions tell you to add the powder to the final volume of water. For example, add 8 ounces of powder to 2 quarts of water. Instead of ending up with two quarts of 12.5 percent solids you get more than two quarts of an 11.6 percent mix [116g powder per liter rather than 125g. “Poor mixing at the simplest level results in clogged nipples but it also contributes to clostridial bloat.
How Many are Fed Each Time?
When preparing milk replacer, the number of calves that will consume the mix has an effect too. If it is only being fed to one calf, the difference in concentration doesn’t matter as much because the calf will drink the entire batch. However, as soon as the mixture is fed by volume to two our more, any inconsistencies will be magnified. If more than one person is mixing the replacer — and doing it incorrectly — the calves will suffer from the inconsistent feeding.
Get A Recipe! Get It Right!
- Write it down.
Working from a written recipe is straightforward and easy. Depending on your situation, prepare the basic recipe and note variations based on the number of calves the mix will be fed to. For so many calves, use so much powder and add water to “x” level. Well-organized prep areas use a dry erase board for recording information. Mark down after each feeding the number of calves fed and the mixing amounts for the next feeding. Note the number of calves that need special attention because they didn’t drink well or were lethargic. Any symptoms should be noted. For further information, check this article on other issues to watch for (Read more: Good Looking Managers Raise Healthier Calves) - Stop estimating! Start Calibrating!
Use precision tools if you are committed to achieving precision results. There are four specific measuring methods that you need to incorporate into your mixing routine: scales, calibrated containers, a calibrated measuring stick and a thermometer.
There is no better way to measure milk replacer powder than with a scale. Get a gram scale. It will be the best money (approx. $38) that you will ever spend. Using a scale is more accurate than estimating powder by volume which happens when using a cup or spoon.- Hang pail on the scale.
- Scoop in powder.
- Stop when the needle hits the right place.
- Dump contents of pail into water.
- Customize your calibration:
Each operation has specific containers that are used for calf feeding. Taking the time to mark accurate calibrations on each tank or pail, will significantly improve the accuracy of milk replacer delivery. It might be worthwhile to calibrate bottles, for accurate records of any replacer that isn’t consumed. Take the time to fill each one with water in graduated known quantities. Clearly, mark the container at each step. - Make a calibrated measuring stick for mixing.
Over time and with the daily repetition that is part of feeding milk replacer to calves, a large repository of suggestions, hints, tips and ideas is available from those who have refined their methods to what is most effective. Taking the time to research ideas and adapt them to your setup is another way to give your calves the best start. Here are some steps for calibrating a measuring stick.- Select a piece of white 5-inch PVC approximately 1 foot longer than the pail is tall
- Glue a cap on each end of the
- In preparation for marking, use a file to roughen the PVC surface slightly
- Use an ear-tag pen to make a permanent black line.
- Put the stick into the pail.
- Add water in graduated known steps, marking the pipe at each step (i.e. 2-gallon steps).
- Do this for each size of pail: 20-gallon; 5-gallon etc.
- Using the calibrated stick, you can further adjust your milking quantities as needed without resorting to guessing.
- Always wash the stick after each use.
- A Temperature Guess Could Result In A Mess
A guess could result in a mess. Using experience or guesstimating temperatures is another way to mix up your calf milk replacer. The Ideal situation would be having a temperature gauge on your mixer faucet. Alternatively, if you use a garden hose or a milker hose for transferring water, try inserting a rapid-read thermometer into the hose. Starting with the right temperature is the beginning. Don’t resort to using your hands to determine temperature. Your perception is notoriously inaccurate, especially in cold weather. Guessing is almost guaranteed not to get you to the warmth that is recommended by your manufacturer.
The Bullvine Bottom Line
Calibrate don’t estimate. We have talked about many things that will make feeding calf replacer more effective. It may not make your work go any easier or faster. But that isn’t the goal with calf raising. The goal is to provide consistent, accurate feedings that will allow the calf to develop to its highest potential.

Get original “Bullvine” content sent straight to your email inbox for free.


Leave a Reply
You must be logged in to post a comment.